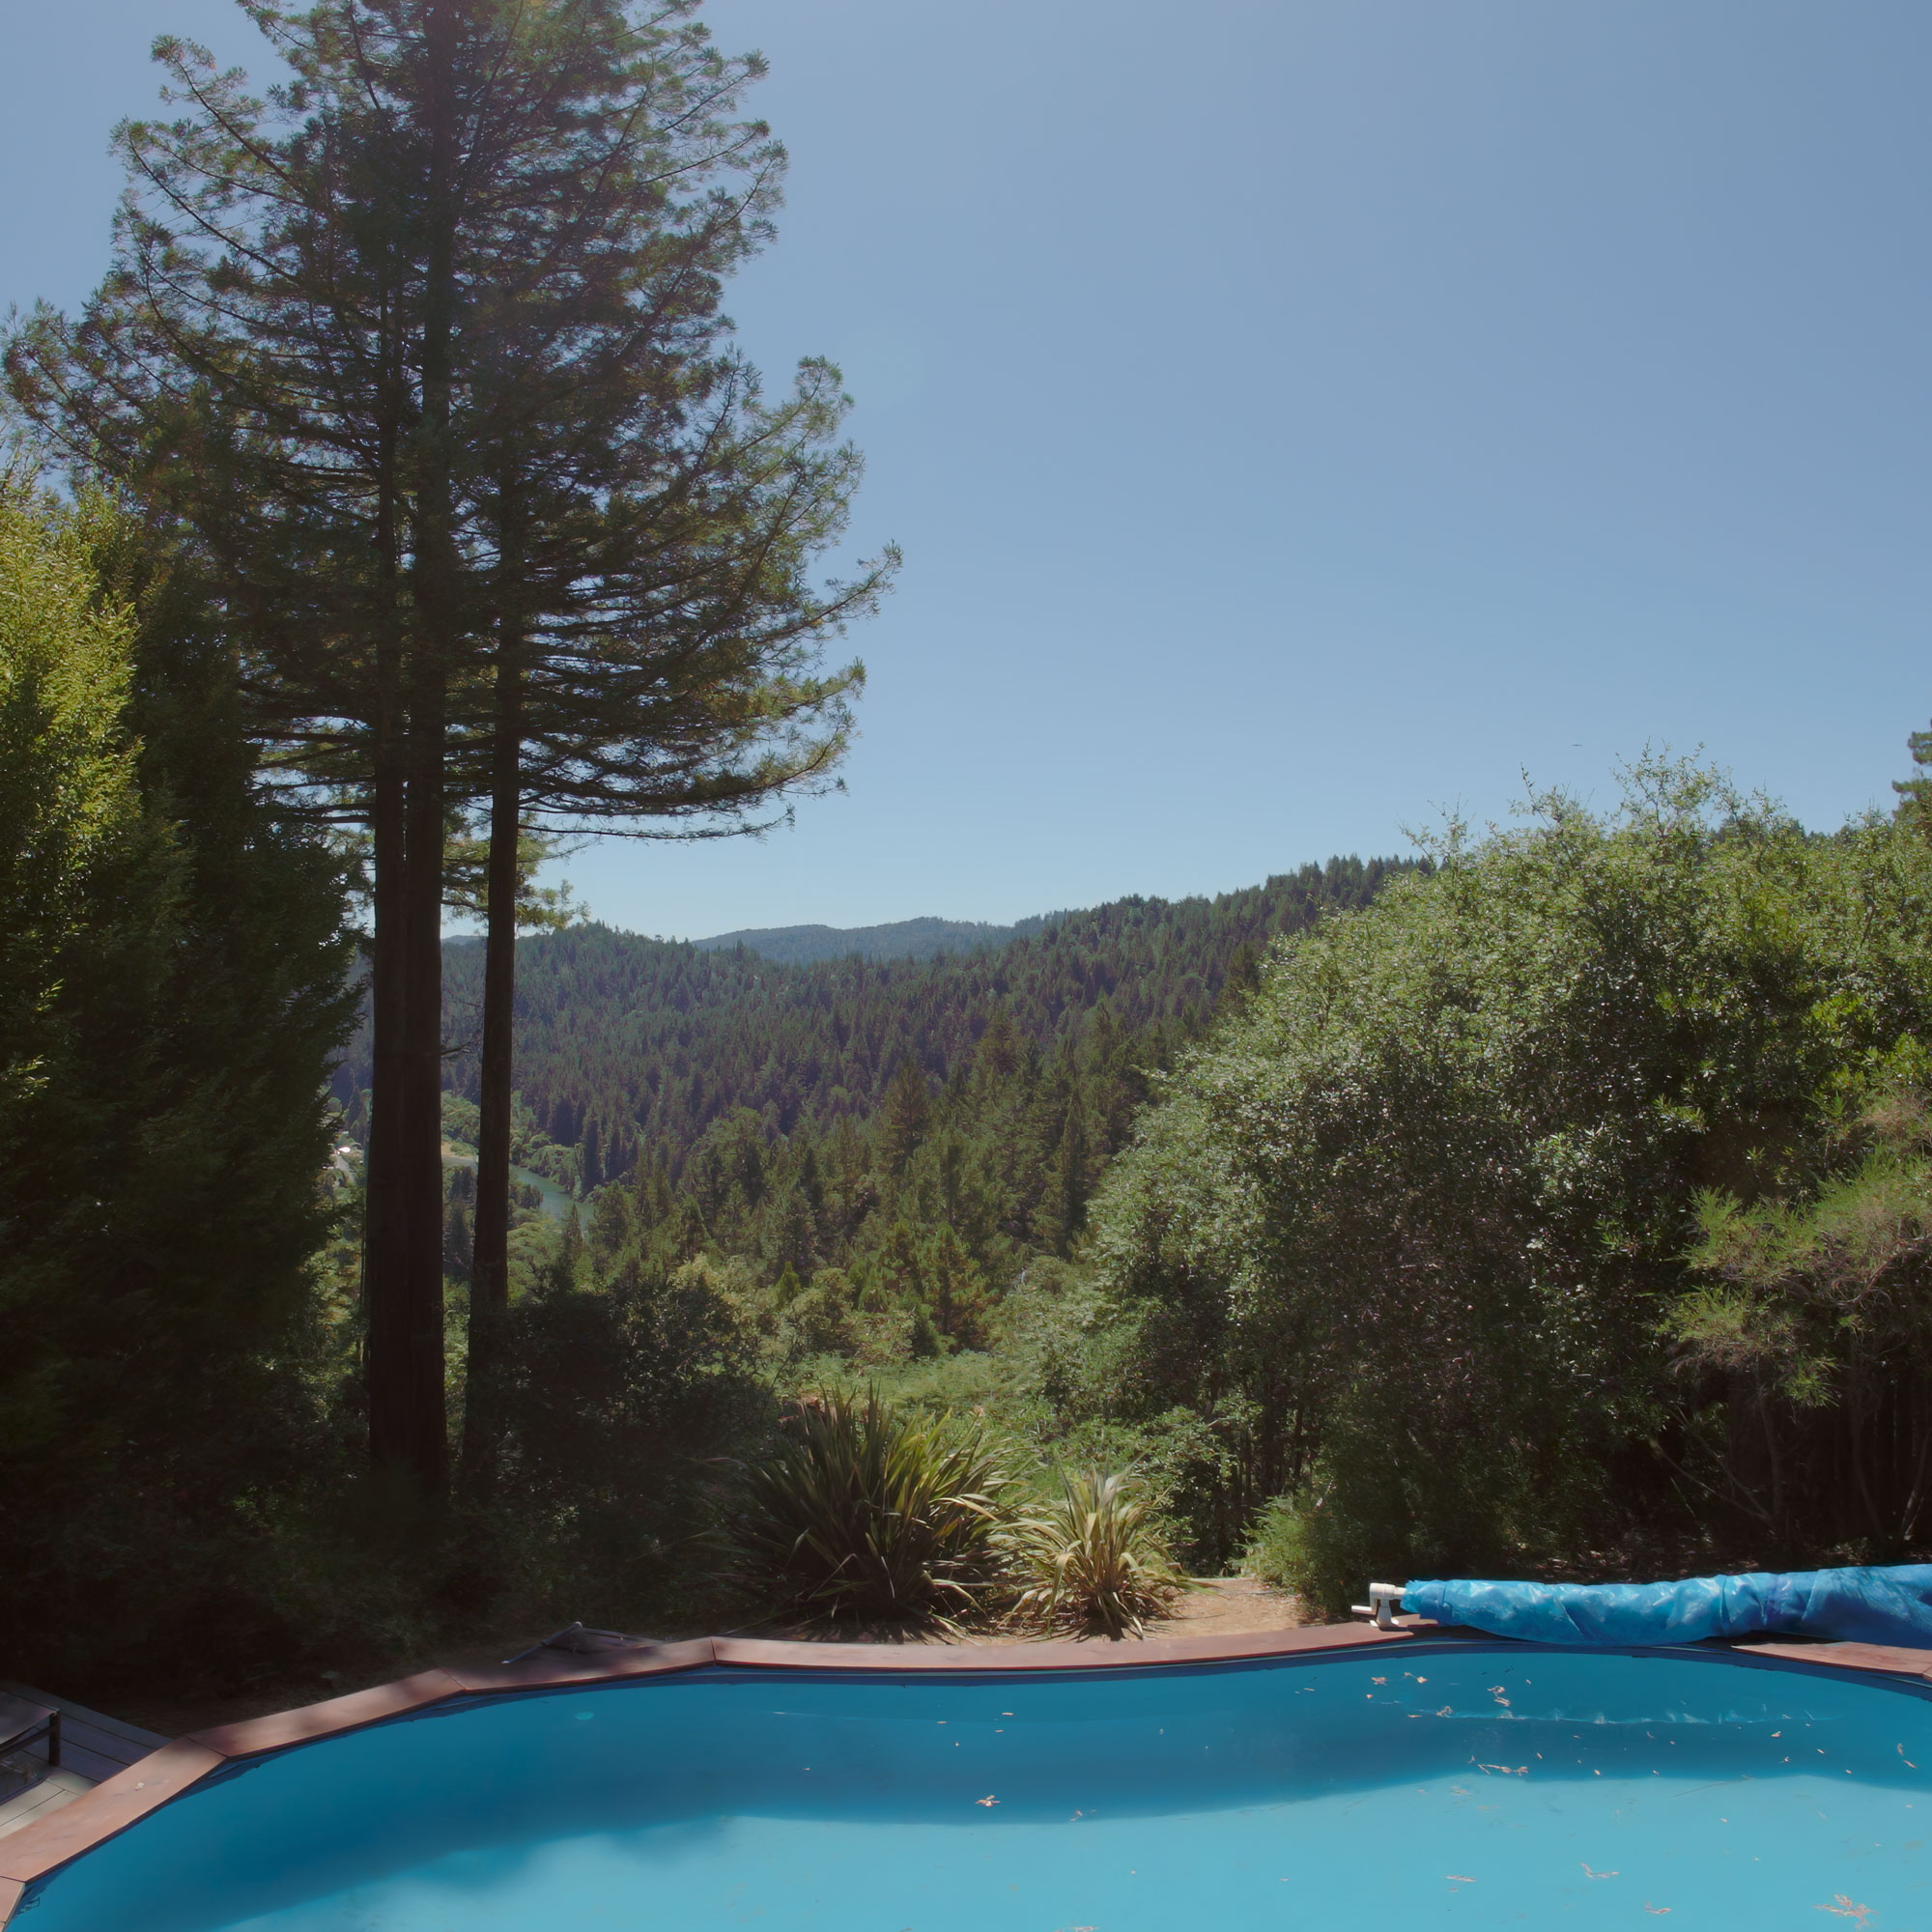
I’ve seen a few VR180 creators on Reddit talk about turning their 8K footage from the Canon R5C into 16K. The examples I’ve seen do look better so I thought I’d try it out. I used Topaz Labs Video AI to upscale a 30 second clip that I shot while we on vacation in Guerneville, CA a couple of weeks ago.
It took about 26 hours (!) to upscale the video on my Mac Studio (M1 Max processor). I just used the default settings. I imagine I can get better results in the future. Here are crops from the original and upscaled video.

The difference is more apparent when viewing them on the Apple Vision Pro. Try it out. Download the videos and view them in Spatialgen.
Along the way I learned a few things (thanks Mike Swanson!):
- MV-HEVC supports 7680×7680 per eye. So I upscaled my side-by-side, 8192×4096 video from the Canon R5C to 15360×7680.
- I used Mike’s Spatial video tool to create the MV-HEVC version but…
- My M1 Mac can only do 8-bit video at that size (the R5C video is 10-bit). I could have made an 8-bit version but that would have take A LONG TIME.
- Instead I processed the video on an M3 MacBook Air. M2 and M3 processors can do this size video in 10-bit or 8-bit.
- I tried various bit-rates for the 16K MV-HEVC file. The one above is 200Mbit/sec. It has slightly less compression artifacts than the 150Mbit file I made. I also tried 250Mbit/sec but players on my Vision Pro had a lot of trouble playing that back and it didn’t really look any better than the 200Mbit/sec file.
Given how long it takes to upscale video to 16K I’ll only be using this for special final projects. I do have a bunch of SD footage that I want to incorporate in immersive projects. Next I’ll going playing with upscaling that stuff to HD.