Hello
I’m Michael Verdi. I'm an artist and product designer.
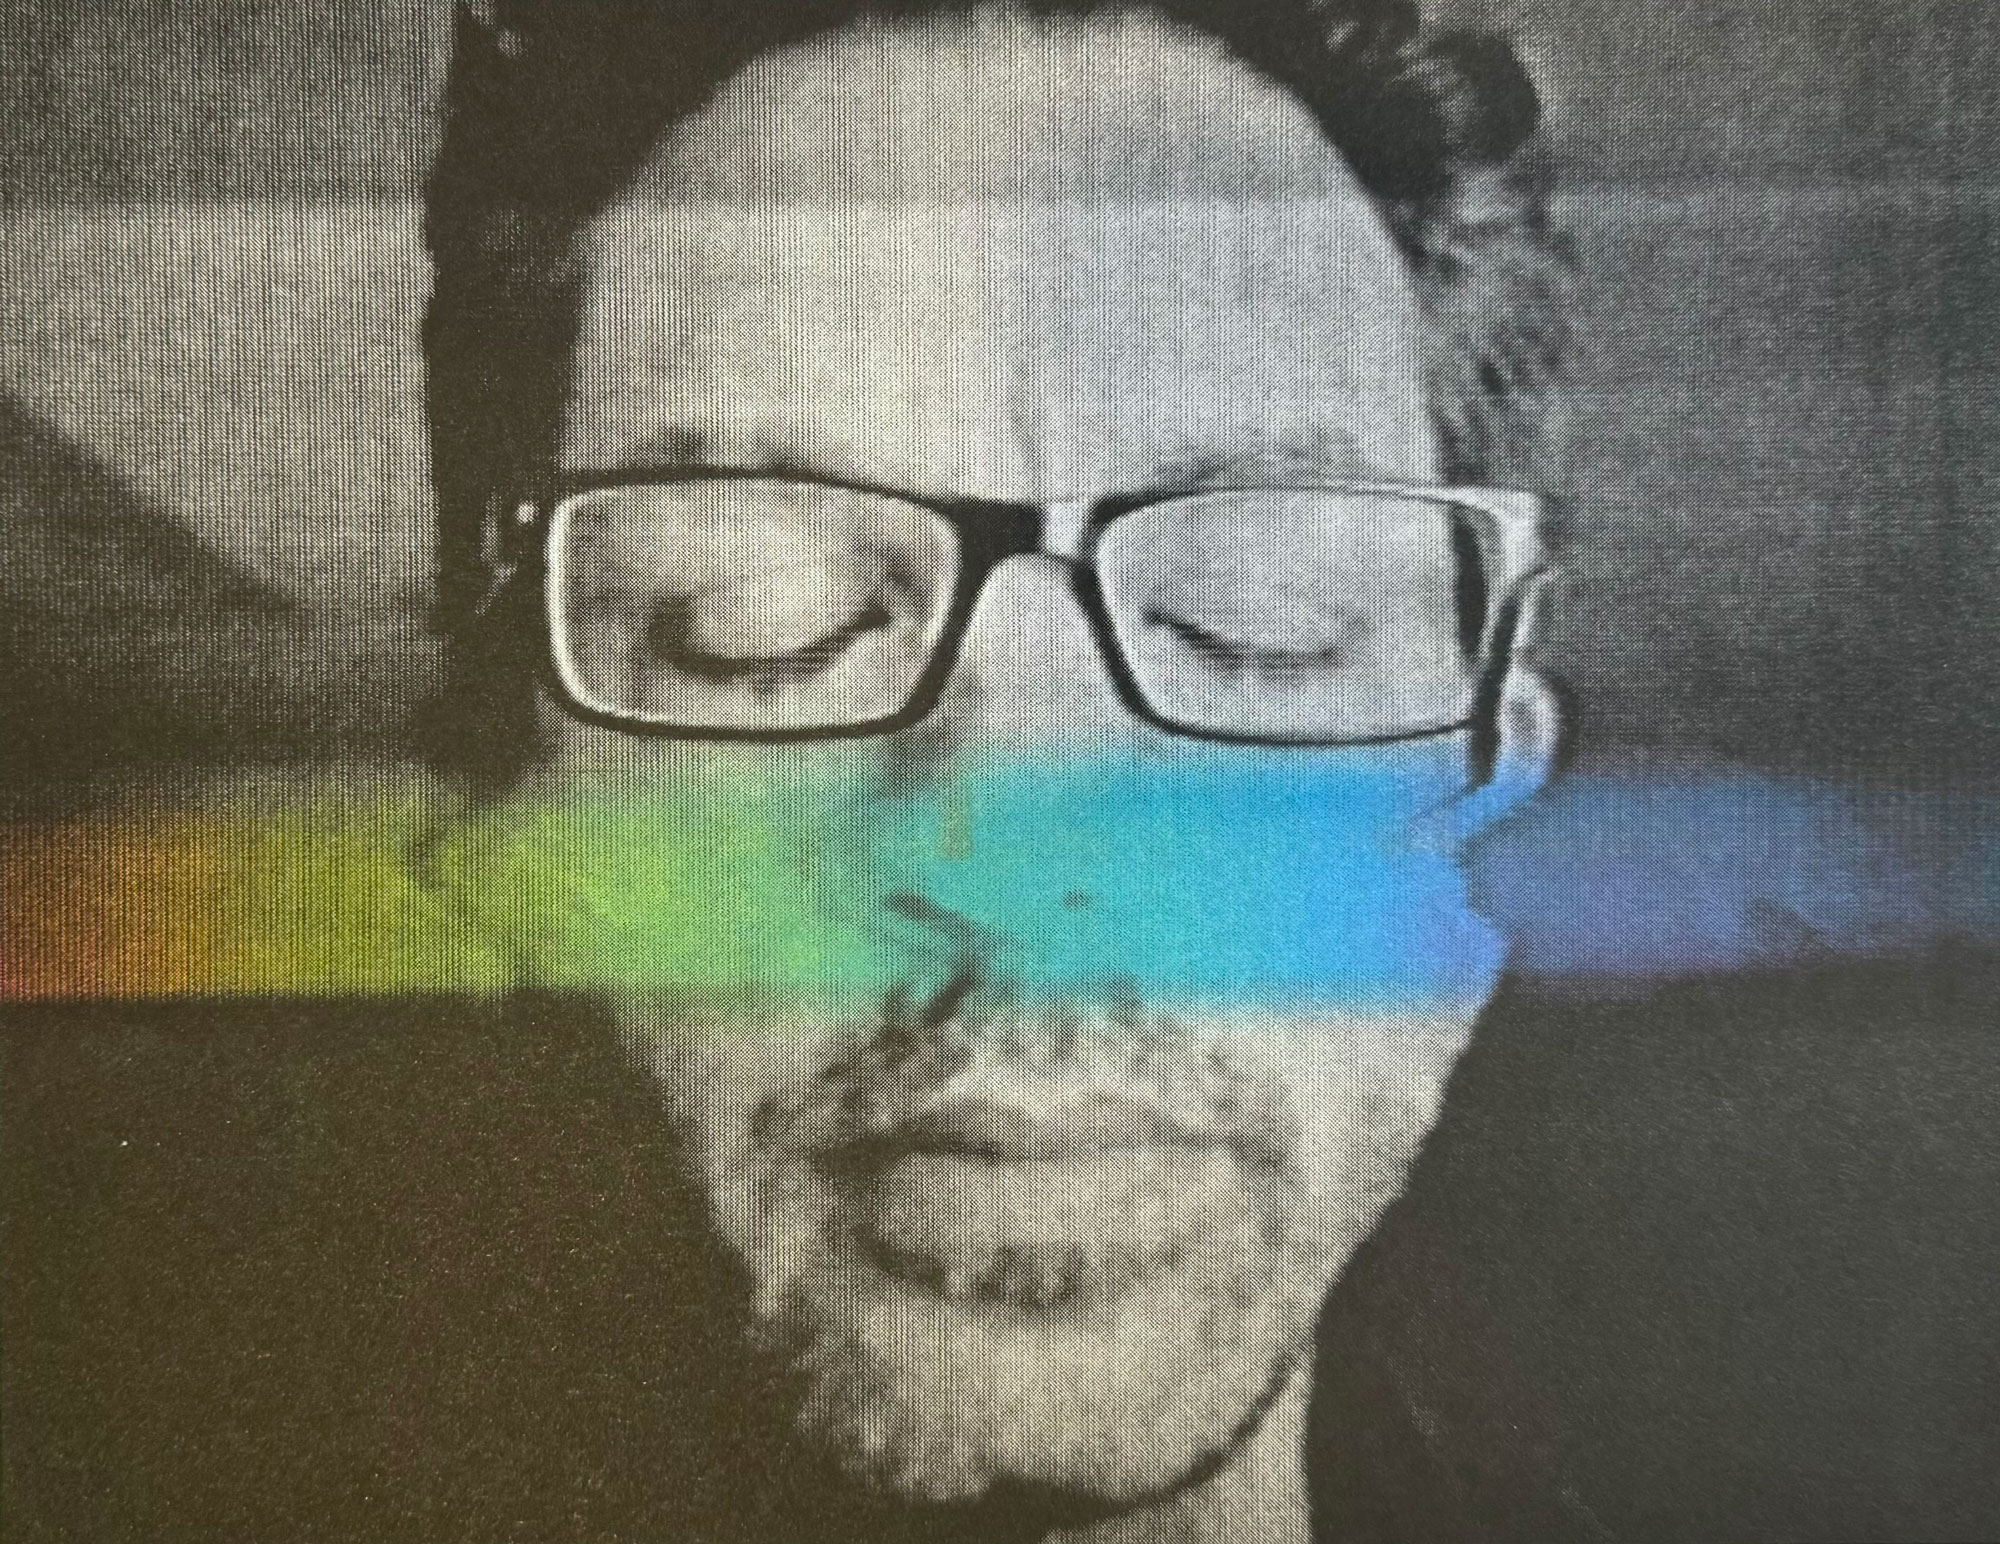
I’ve had many past lives including: nuclear sub engineer, performance artist, videographer, Ironman, high school teacher, and freelance designer/stay-at-home dad. I helped invent vlogging in the pre-YouTube days, and wrote a how-to book about it.
For the last few years I’ve been obsessed with combining zines, film, and games. And now that the Apple Vision Pro is out, you can add immersive, 180 degree, 3D video to that list. I've been documenting all that on my blog. ← Check it out.
Projects
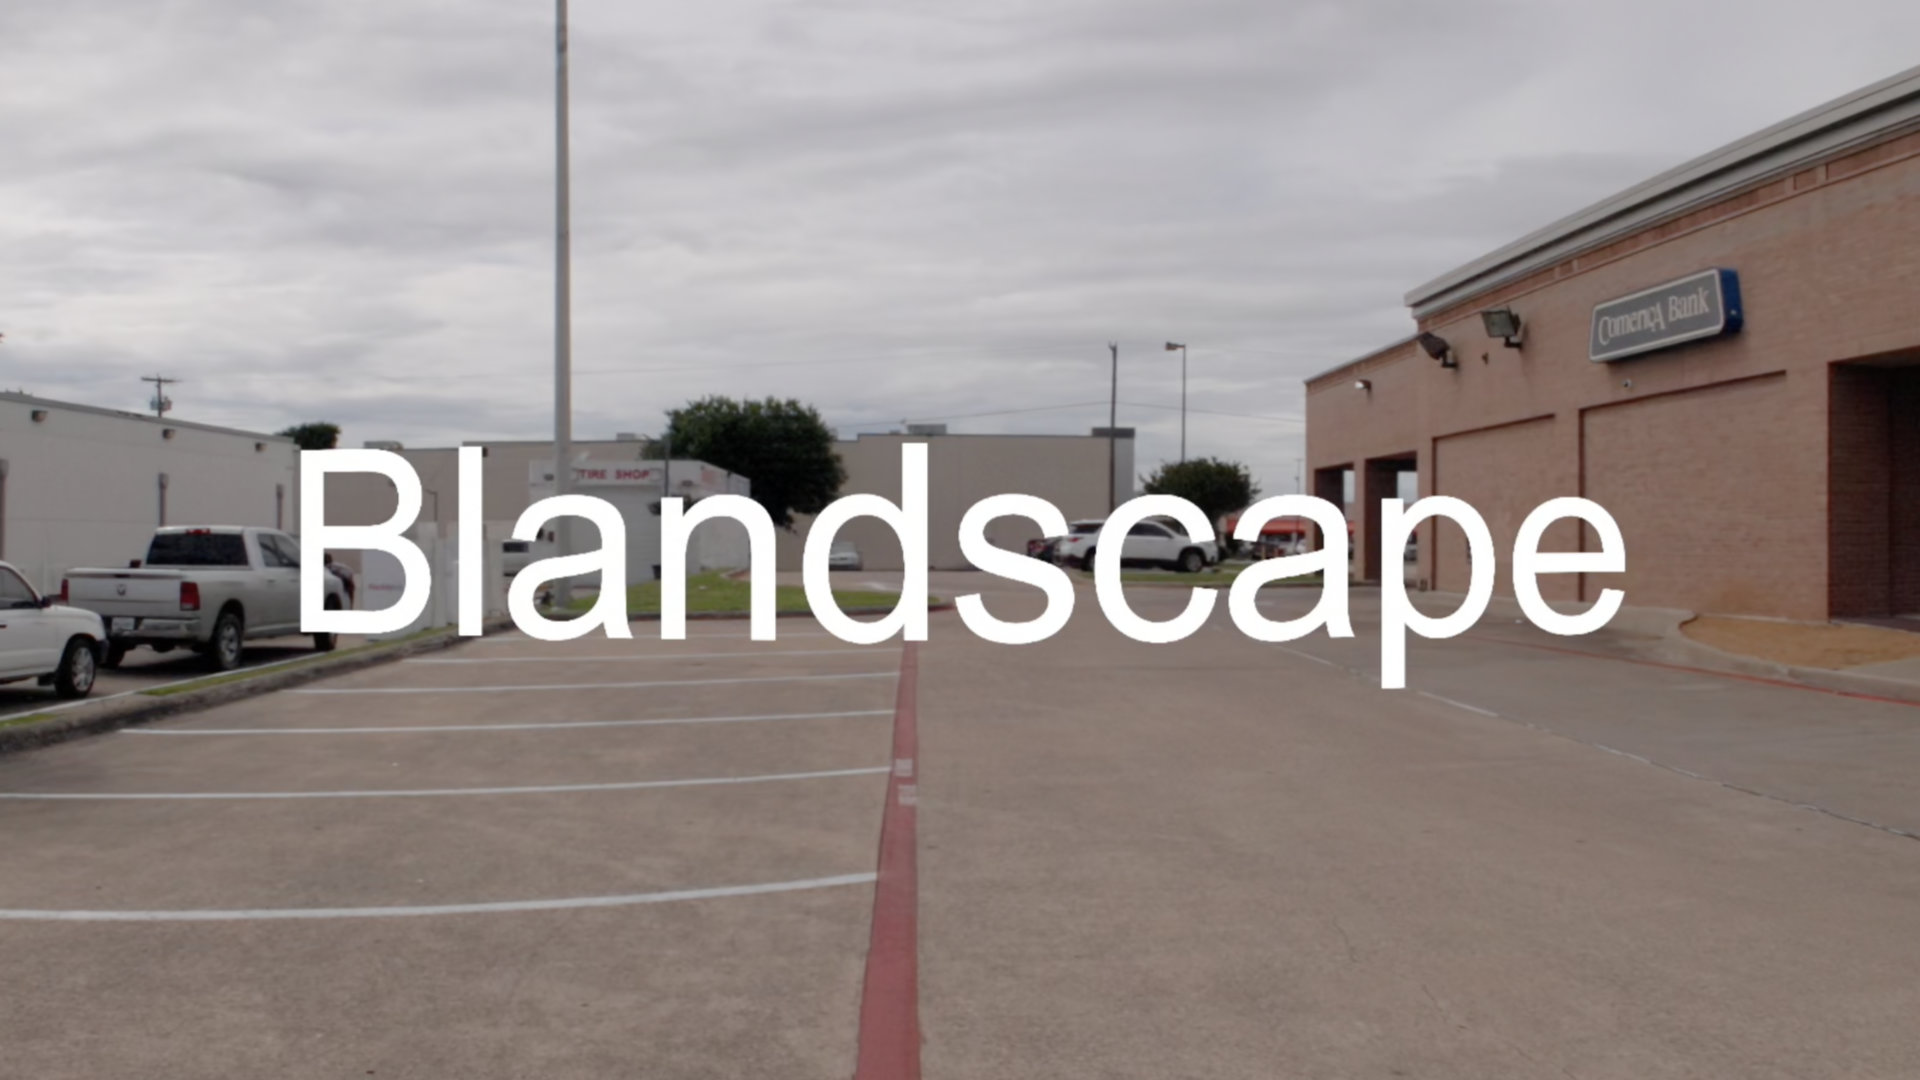 Blandscape
A short immersive film.
 VR180 Web Player
A web-based player for immersive video.
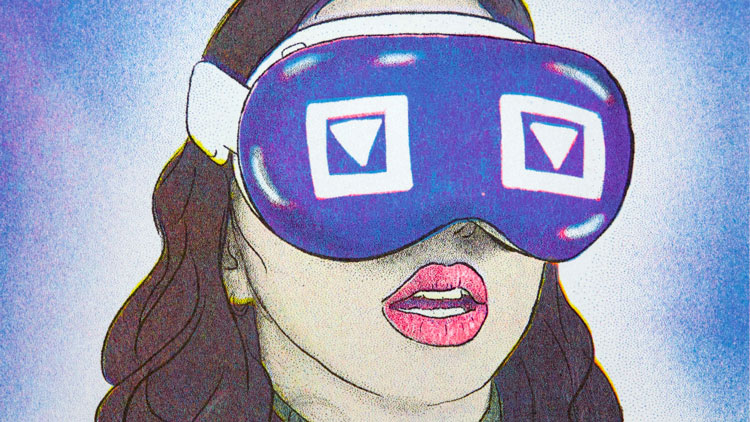 MV Zine
Riso-printed, personal zine.
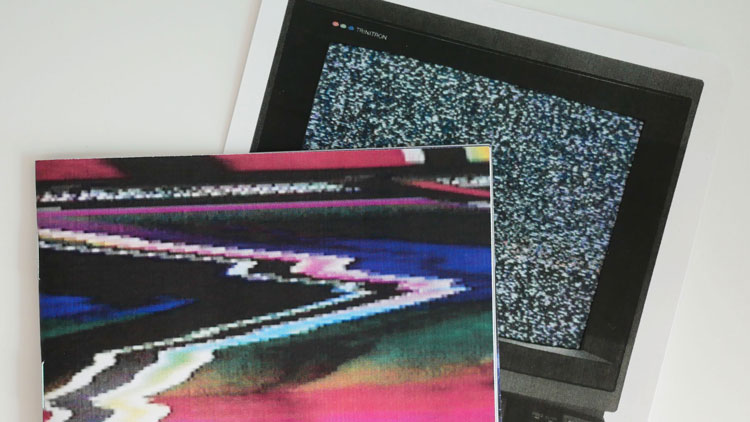 Grey Matter Gravy
Art zine.
 Critiquing Design
Great critique sessions.
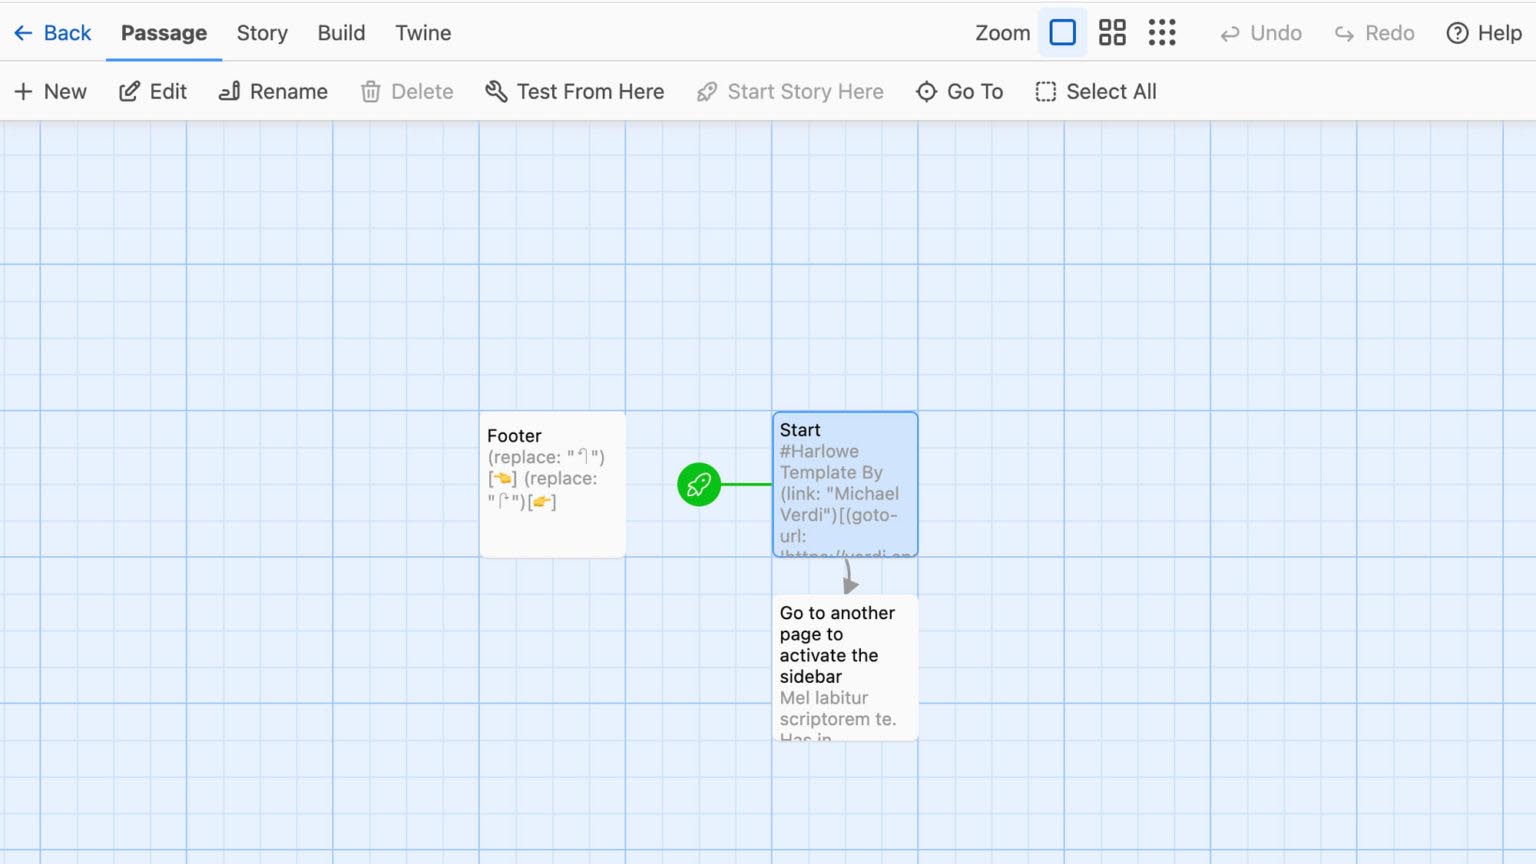 Harlowe Template
Better styles for Twine.
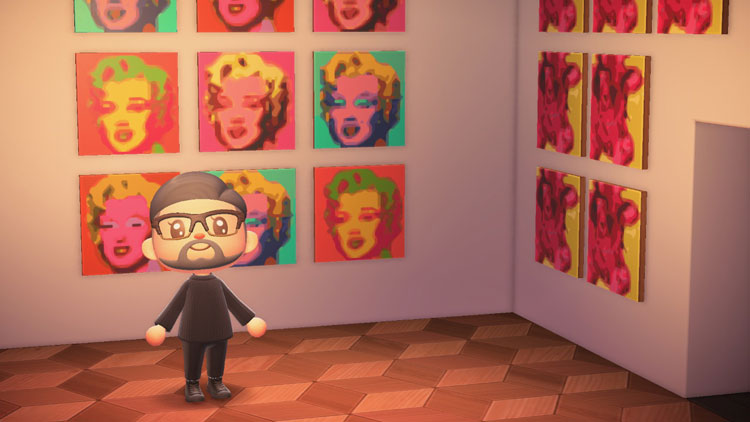 Big Moon
Animal Crossing art installation.
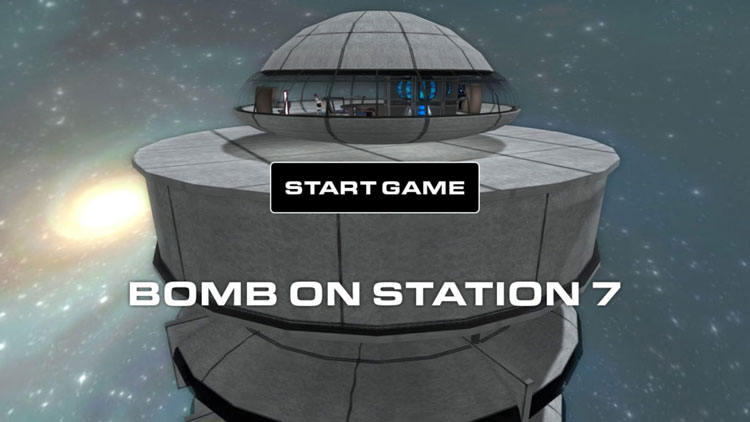 Bomb On Station 7
A very simple CYOA game.
 Blank Wordpress Page
A special Wordpress template.
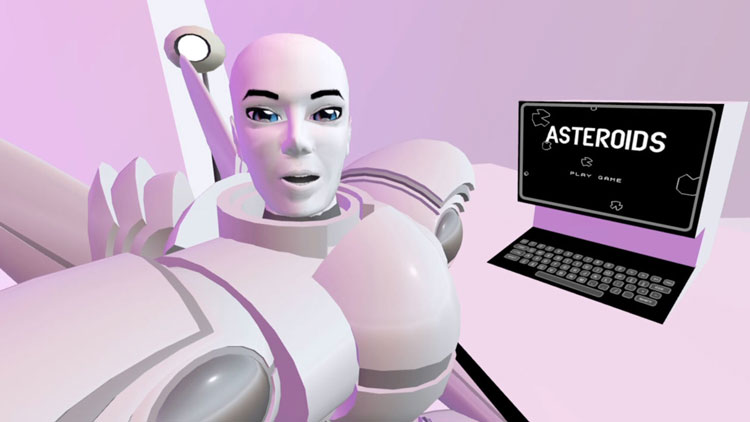 Talkbot
Machinima series created with SecondLife.
 Linktree template for Blogger
Cheap and simple website.